Fuselage "T" Bar
by
Udo Rumpf
This device was built to minimize the strain on the back associated removing the fuselage from the glider trailer.
1 ) You need to install a bracket at the top centre of the rear bulkhead. The bracket consist of a 3/16" or a 1/4" angel. Cut off a length of about 3/4". Weld a 3/8" nut on the under side, drill through and cut a tread in the angle as well. Mount to the rear bulk head below the fibre glass of the fairing skin. Make sure the angle is squarely attached (important)
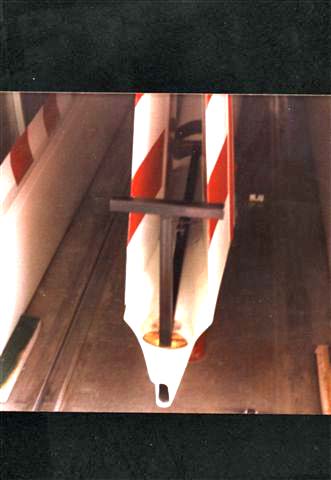
2 ) Cut a one inch sq tube that will reach from in front of the fairing to well over the nose cone. Length it not important at this point, as it will be trimmed later. Weld a 1/2" diameter puck about 1/2" Long in place, roughly where the bracket is located on the bulk head.
Drill 3/8" clearing hole squarely through the centre of the puck and the sq. tube. Use a 3/8" bolt, weld a stand off about and 11/2" long to the bolt head. Drill a hole near the top of the stand off and insert a rod to make a T handle. Do not forget to make a little bracket to hold the bolt assemble permanently in place other wise you will lose the bolt, guaranteed.
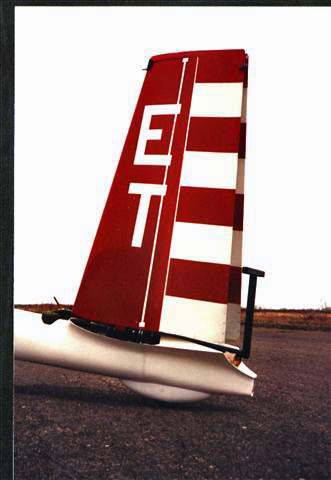
3) Make a pad shaped to fit the top of the fuselage with some felt. I cut off a piece from a two by four, shaped it and attached it to the sq. tubing just ahead off the leading edge of the fairing. At the other end I also used a form shaped pad with felt, touching the cone fairing. As you tighten the unit to the bracket, which was installed to the bulk head, there should only be a slight pressure on the cone. When traveling it is important that the assemble is tightly bolted as vibration could loosen and wear the thread and the bolt out. Now attach and weld T-bar, as well as the vertical post with pads, that will hold the folded V tail in place.