Building the Cigar Tube Trailer
|
|
The following is a photo-essay of the construction of a new "Cigar Tube" type trailer by my partner and I back in 1997, to replace the original wooden trailer for our HP-14. The project involved about 600 man-hours of work and an estimated 10,000 rivets (after a while you start to lose count :-). While the design of this trailer was heavily influenced by our inspection of a Schreder and a Minden trailer at our glider club, we did not start with any pre-made plans. We both knew what we wanted in the end and just made things up as we went along. I know we repeated some well-known mistakes by doing it that way but that’s part of the fun of learning.
Alex Upchurch,
November 1999.
|
|
|
|
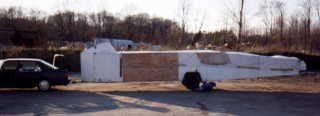
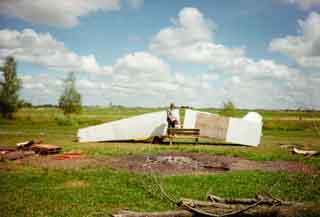
Here is the impetus for the project. Over the years the original trailer had deteriorated to the point that the termites stopped holding hands and it broke in half from the weight of the glider within it, forcing us to scab additional plywood onto the outside to hold it together until we could complete the new trailer. |
|
|
|
|
|
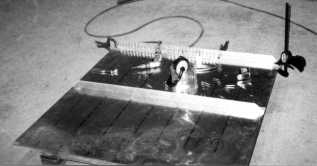
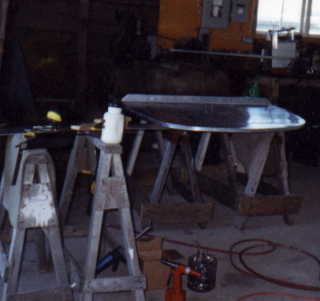
Here is the start of it all, with the first two pieces being joined together. This would later prove to also be the first mistake, as the flange of the far angle is facing the wrong way. |
|
|
|
|
|
The first task was to hard rivet flanges across the bottom side of all the floor sheets at 2’ intervals. |
|
|
|
|
|
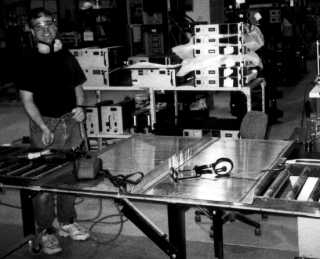
Then the four longerons were laid out equally spaced across the top. Since the extrusion came in 14’ lengths, each rail is spliced twice along its length and the splices are staggered in pairs. By doing two splices we avoided having any splices in the centre where the stresses are the highest. |
|
|
|
|
|
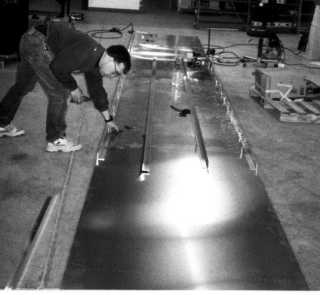
One section at a time the longerons were hard riveted to the floor skins. |
|
|
|
|
|
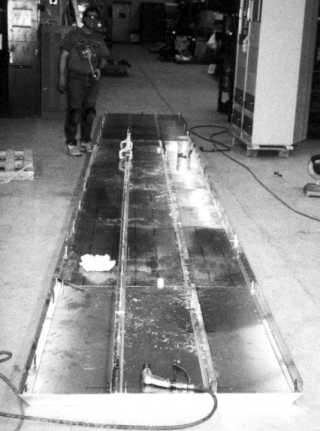
And the sections joined together until we had a complete floor. |
|
|
|
|
|
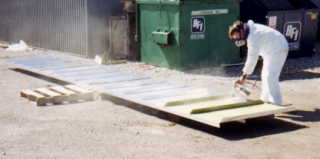
We then took the floor outside and put a coat of zinc chromate on it. |
|
|
|
|
|
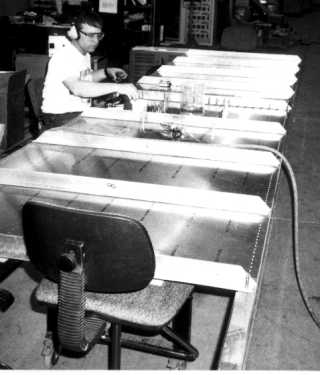
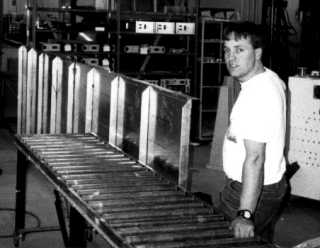
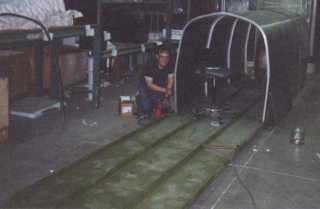
Next came the hoops and skins. Once we worked out the system we were able to install a panel in about four hours. The skin is pull riveted to the hoops with ordinary Al/Al rivets at 0.75" spacing and hard riveted to the floor flange at 1" spacing. All seams are also sealed with RTV. Once the tube was complete the hoops were bolted to the flange with ¼" bolts. For the three high stress center panels we also added a horizontal brace mid-way up the wall. Due to a lack of curvature in the walls we later had to extend the bracing for the entire length of the trailer to stop the walls from oil canning. |
|
|
|
|
|
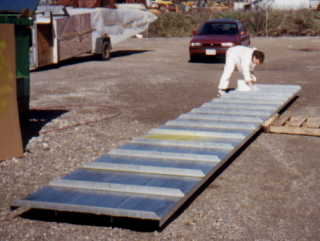
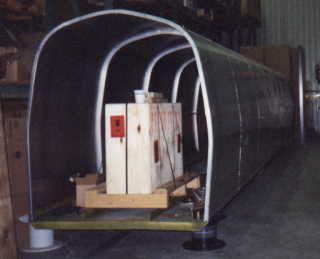
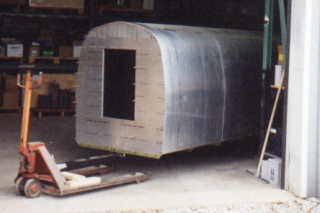
The completed tube was then propped up on some cable spools and load tested with a tugboat (but I digress). We then fitted the running gear and installed the front wall and temporary lights before rolling for the door. |
|
|
|
|
|
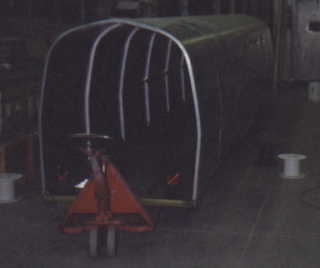
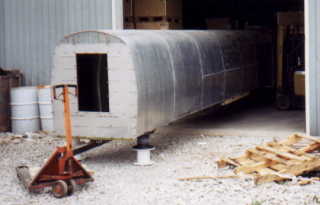
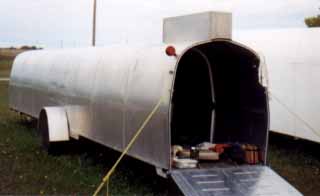
Once around to the door the body was propped up and the axle bolted on. Note that we placed pressure treated lumber between the steel axle and the aluminum body to minimize the chance of galvanic corrosion. The wood also helps to distribute the loads between the axle and body. |
|
|
|
|
|
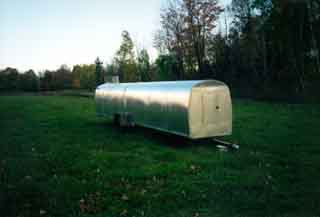
On its own two feet at last! With temporary fenders on the outside and all the remaining bits and pieces piled inside we were ready for the road. |
|
|
|
|
|
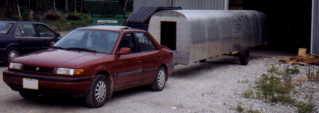
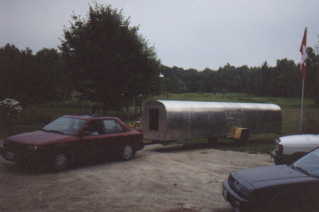
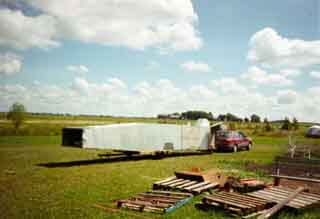
After a quick spin around the flagpole to test the handling we hauled the trailer up to the airfield where we joined another club member who was rebuilding his Jantar trailer. |
|
|
|
|
|
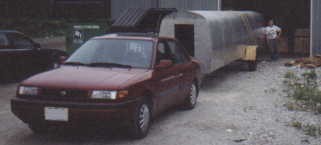
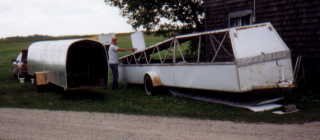
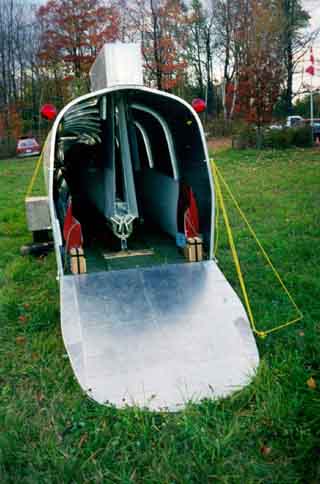
Here we built the tailgate, doghouse, glider fittings, and all the other little finishing details. For the fuselage dolly we were fortunate to acquire an unwanted dolly that we were able to re-contour to the shape of the HP-14 with the help of a couple of cans of spray foam insulation. |
|
|
|
|
|
|
|
|
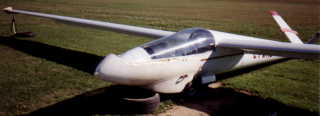
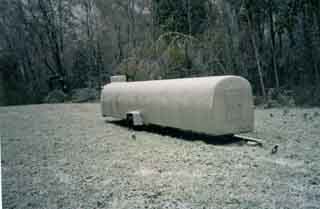
By the end of the season we finally had a dry place to store the glider for the winter. |
|
|
|
|
|
As for the old trailer we dragged it over to the campfire, salvaged whatever we could and burned the rest. Surprisingly there was still enough cellulose in the wood to make a really good bonfire. :-) |
|